A drill pack that runs flat after a few screws is frustrating, but repairing cordless drill packs is not simply a matter of fitting any new cells that happen to be the same size. The pack must deliver high current, communicate correctly with its charger and tool, and remain mechanically secure under vibration. Get one of those details wrong and a rebuilt pack can perform worse than the original - or become unsafe.
The sensible starting point is diagnosis. Confirm whether the battery pack is actually at fault before opening it, then identify its chemistry, voltage layout and current demands. A quality rebuild can be worthwhile on a discontinued tool or a premium platform. For a damaged pack, a low-cost tool or a pack with unobtainable electronics, replacement is often the better call.
Start by identifying the pack chemistry
Cordless drills have used nickel-cadmium, nickel-metal hydride and lithium-ion packs. They are not interchangeable. The charger, temperature sensing, voltage cut-off and cell arrangement are designed around the original chemistry.
Older NiCd packs are commonly labelled 9.6V, 12V, 14.4V or 18V. They use 1.2V nominal cells in series and can sometimes suffer from one weak cell pulling the entire pack down. NiMH cells are also 1.2V nominal but have different charging behaviour. Replacing NiCd with NiMH in an existing pack is not an automatic upgrade, particularly when the original charger relies on temperature rise or a timed charging cycle.
Most current drill packs use lithium-ion cells. An 18V lithium-ion tool battery is typically a 5-series pack: five cells, or five parallel cell groups, connected in series. Each group is around 3.6V to 3.7V nominal, giving 18V nominal and approximately 21V at full charge. Some brands market the same arrangement as 20V Max. The label, connector layout and pack electronics matter more than the marketing number.
Never install lithium-ion cells in a pack designed for NiCd or NiMH without redesigning the charging and protection system. That is a different battery project, not a straightforward repair.
Check the charger, tool and contacts first
A pack that will not charge may have dirty terminals, a failed charger, a damaged thermistor connection or worn tool contacts rather than failed cells. Look for heat marks, corrosion, loose terminal blades and cracked plastic around the connector. Clean dry contact surfaces carefully and make sure the pack locks firmly into both charger and drill.
If a second known-good battery works in the drill, that narrows the fault to the suspect pack. If the suspect battery is rejected by multiple compatible chargers, inspect the pack's auxiliary terminals and temperature sensor wiring. Many lithium-ion tool systems will refuse to charge when the thermistor is open circuit, shorted or reporting an implausible temperature.
A multimeter is useful, but pack voltage alone is not a health report. A lithium-ion pack can show near-normal voltage at rest and collapse as soon as the drill asks for current. Equally, a pack that reads very low may have been disconnected by protection electronics rather than containing completely dead cells.
Open the pack only when the case is worth saving
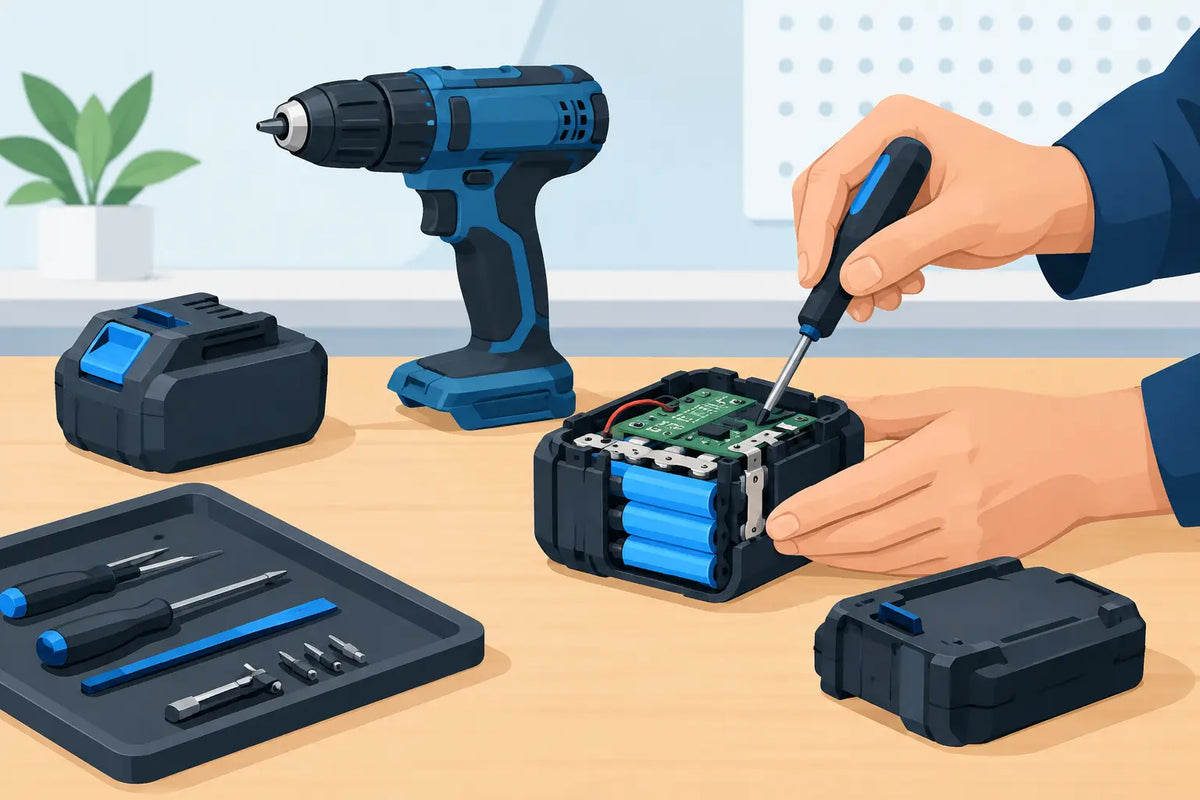
Remove the battery from the tool and charger, then work on a clean, non-conductive bench. Use insulated hand tools where practical, remove rings and watches, and keep exposed metal objects away from the pack. A short across a high-current pack can heat a tool, strip or connector in seconds.
Stop the repair if the case is swollen, melted, badly cracked or contaminated by water. Also stop if any lithium-ion cell is swollen, dented, corroded, leaking or has a torn insulating wrap. Place suspect cells in a fire-resistant location away from combustible materials and take them to an appropriate battery recycling facility. Do not attempt to recharge or revive deeply damaged cells.
Photograph the pack before disconnecting anything. Record cell orientation, nickel-strip routing, wire colours, thermistor position, insulation pieces and PCB placement. Tool packs are tightly packaged for a reason. Missing a fish-paper barrier or pinching a balance wire during reassembly can create a fault that is difficult to see from outside the case.
Test cell groups under load, not just at rest
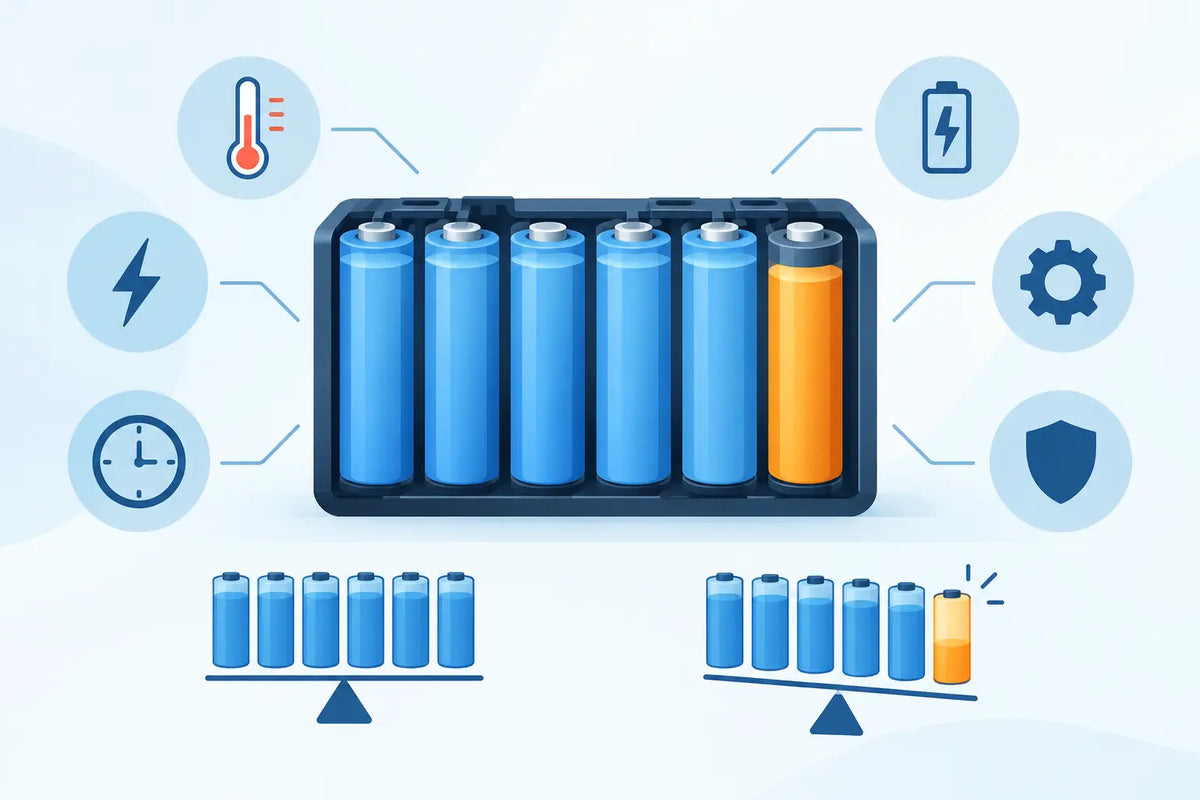
In a series lithium-ion pack, cells may be arranged as 5S1P, 5S2P or larger. A 5S2P pack has five series groups, each made from two cells in parallel. Measure each parallel group rather than treating every cell as an isolated series cell. Cells permanently joined in parallel should be at the same voltage before they are connected.
A noticeably lower group than the others is a strong sign of a weak group, but it is not the whole diagnosis. Check the welds, nickel strip and sense connections first. A fractured weld can imitate a failed cell. If the physical connections are sound, capacity testing and controlled load testing will reveal far more than an open-circuit voltage check.
Cells intended for drill packs must cope with high discharge current. A high-capacity 18650 may look attractive on its mAh rating yet have insufficient continuous-discharge capability for a drill on a large auger bit. That can cause voltage sag, early low-voltage cut-off and hot cells. Capacity matters, but current capability matters just as much.
Rebuild with matched cells and the original design in mind
If the pack needs cells, replace the complete set of cells in the pack. Do not mix a new cell with old cells, or combine different brands, capacities, ages or discharge ratings. Parallel groups must use genuinely matched cells, ideally from the same model and batch, so each cell shares current predictably.
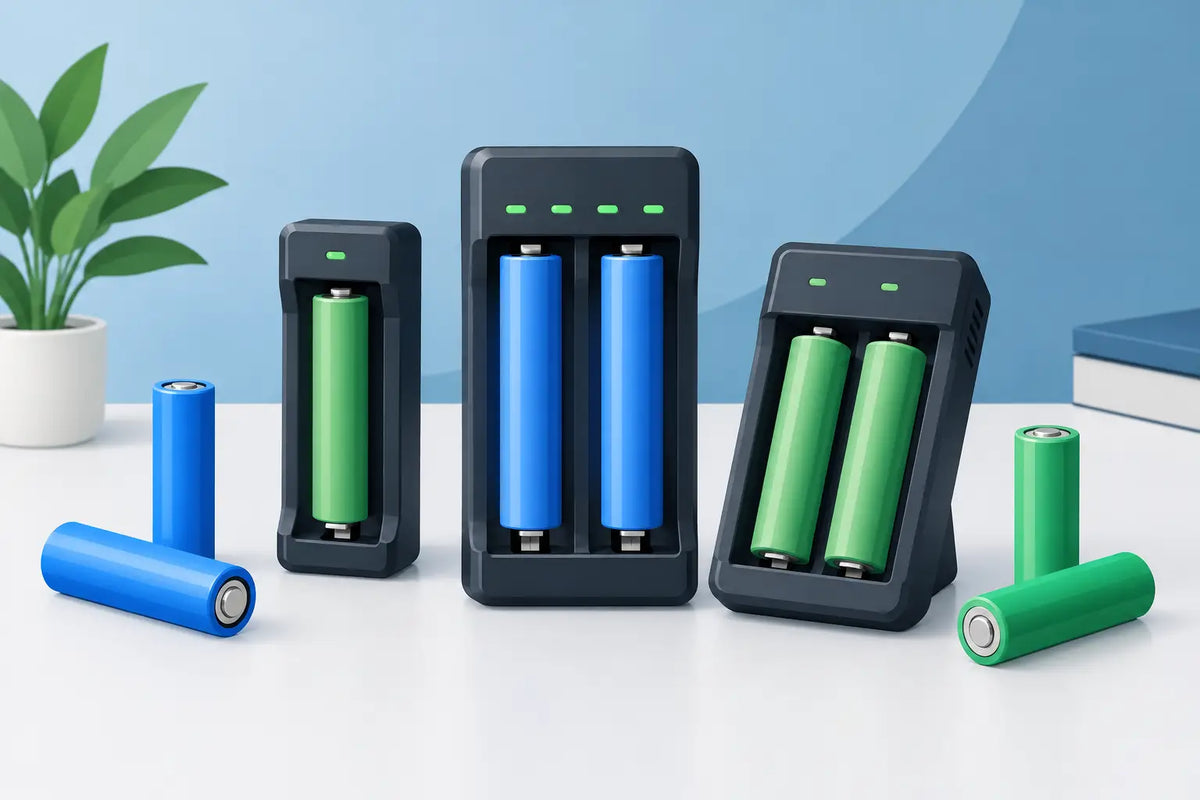
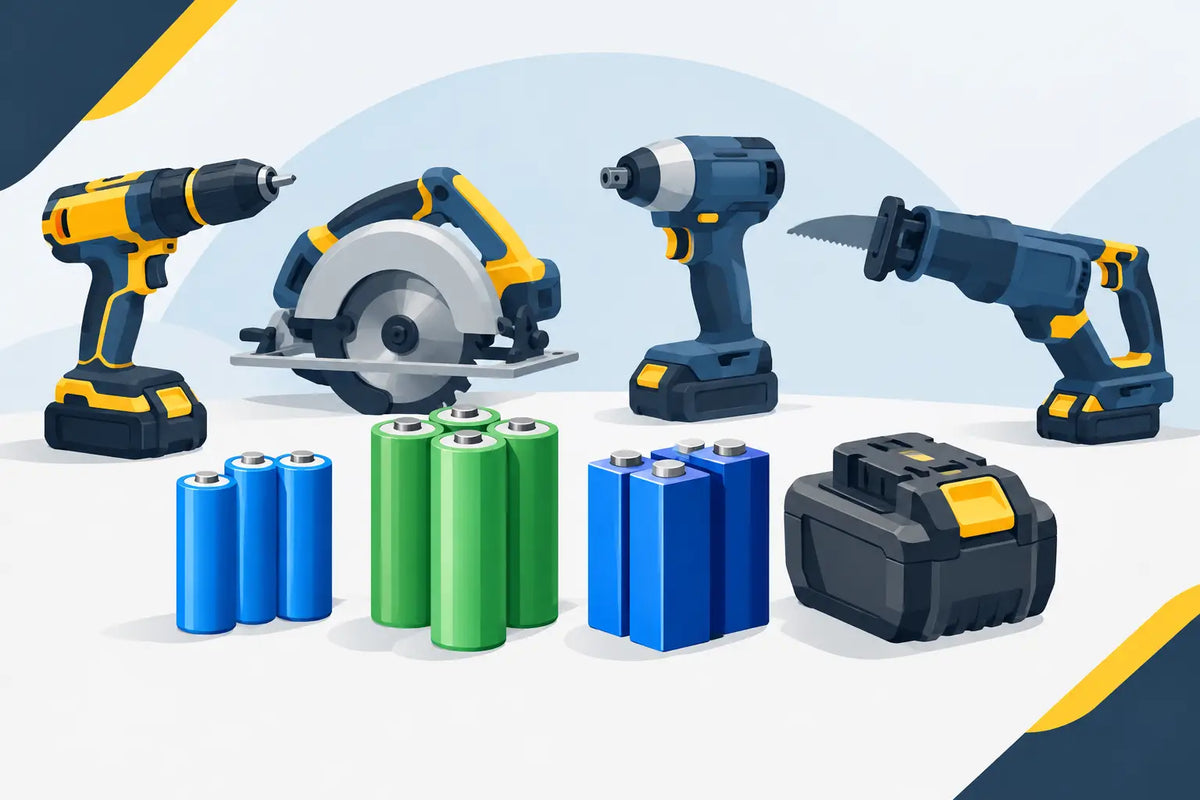
Match the original cell format first. Many compact packs use 18650 cells, while newer high-capacity packs may use 21700 cells. A larger cell will not fit safely just because it has a higher capacity rating. Check diameter, length, clearance to the case, terminal arrangement and the exact pack layout.
For a drill battery, select cells based on the pack's real current requirement. A light-duty driver and a heavy construction drill do not place the same demand on the cells. Compare continuous-discharge rating, capacity, internal resistance and temperature performance. For a high-drain rebuild, a reputable cell with a suitable amp rating is a better choice than an unknown cell with an optimistic printed specification.
Use cells with pre-welded tabs where the design allows, or use a battery spot welder with suitable nickel strip. Do not solder directly to bare lithium-ion cell terminals. Prolonged heat can damage the cell's internal seal and separator. If tabs are used, ensure their routing matches the original pack and cannot rub through insulation when the case is closed.
Retain protection and temperature sensing
The original protection board, thermal fuse and thermistor are functional parts of the pack, not packing material. Refit them in their original positions unless you have the specifications and experience to engineer a replacement system. Some tool brands use extra communication terminals, and a generic protection board may not satisfy the charger or tool electronics.
Use proper fish paper, cell rings, insulating barriers and heat-resistant tape wherever the original pack used them. Nickel strip must be sized for the expected current and secured so it cannot flex into an adjacent connection. Before fitting the case, inspect for sharp edges, exposed positive terminals and trapped wires.
Commission the rebuilt drill pack carefully
Measure the completed pack voltage and, where applicable, each series-group voltage before inserting it into a charger. Group voltages should be closely matched. If they are not, find the assembly error before charging.
Perform the first charge in a suitable monitored area, following the charger and tool manufacturer's directions. Do not leave a newly rebuilt lithium-ion pack charging unattended, and do not charge it on a timber bench surrounded by workshop materials. After charging, check for abnormal heat, smell, charger fault indications or uneven voltage between groups.
The first drill test should be controlled. Run a modest load, then check that the pack stays cool and the case remains secure. A heavy load test is useful only after the basic operation is proven. If the drill cuts out early, the pack heats quickly or the charger rejects it, stop and diagnose rather than forcing repeated charge-discharge cycles.
For many repairs, the best result comes from treating the pack as a complete system: correct cells, sound interconnects, retained protection and a charger that agrees with the pack. TinkerTech AU stocks the cell formats and pack-building supplies used in many DIY repairs, but the right parts still need to match the original design. A careful rebuild should leave you with a drill battery that is dependable on the job, not merely one that lights up on the charger.