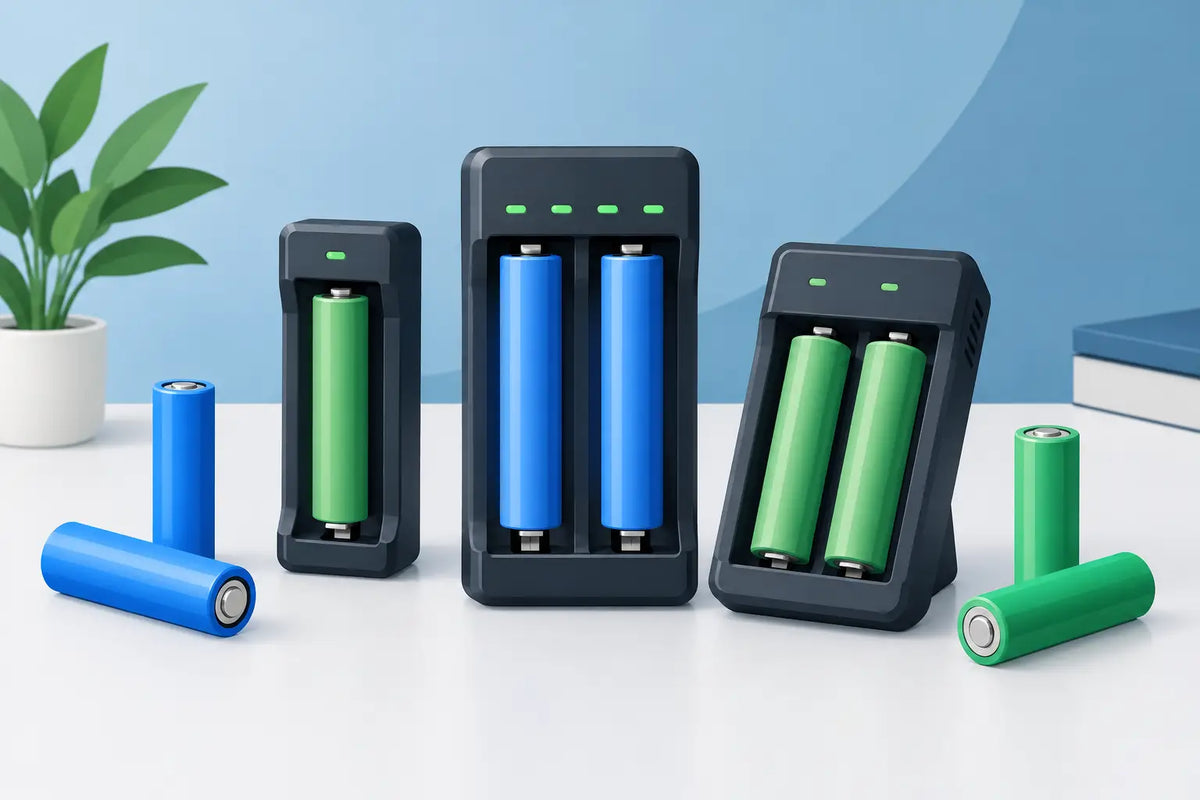
A charger set to 2A can be completely sensible for a healthy 5000mAh 21700, yet unnecessarily hard on a small 1500mAh 18650. Charger current settings are not a performance setting to wind up by default. They determine how quickly a lithium-ion cell receives energy, how much heat is produced and, over repeated cycles, how gently the cell is treated.
For makers charging loose 18650, 20700 or 21700 cells, the right setting comes from the cell's capacity and manufacturer charging specification first. The charger, number of occupied slots, cell condition and your need for turnaround time come next.
What charger current settings actually control
On a quality lithium-ion charger, the selected current is the maximum charge current the charger will apply during the constant-current part of the charge cycle. As the cell approaches its full voltage, usually 4.20V for standard lithium-ion cells, the charger moves into constant-voltage charging and the current tapers down. A cell does not take the selected current from empty to full.
This matters because a display showing 1A does not mean a cell is being pushed at 1A for the entire session. It also means a charge can appear to slow dramatically near the end. That taper is normal and is part of a proper CC/CV lithium-ion charging process.
Do not confuse charger current with discharge rating. A 3000mAh 35A 18650 may safely deliver high current in a device, but its recommended charging current can be far lower than 35A. Always use the manufacturer's charge specification, not the continuous-discharge figure printed in a product listing.
Choosing charger current settings by capacity
C-rate is the cleanest way to compare charge rates across different cell sizes. A 1C charge rate equals the cell's rated capacity in amps. For example, a 3000mAh cell is 3.0Ah, so 1C is 3A. A 5000mAh cell has a 1C rate of 5A.
For routine charging, around 0.5C is a practical conservative starting point when the cell data sheet permits it. That is 1.5A for a 3000mAh cell and 2.5A for a 5000mAh cell. Many consumer chargers offer fixed steps such as 250mA, 500mA, 1A and 2A, so choose the nearest setting that stays within the cell's recommended limits.
Lower current is generally easier on a cell and can be the better choice when time is not critical. Higher current reduces waiting time, but it creates more heat and may reduce cycle life over many charges. There is no benefit in selecting a faster setting simply because the charger offers it.
A sensible guide for healthy, genuine cylindrical cells is:
- 250mA to 500mA for lower-capacity cells, older cells, or charging where low heat matters most.
- 1A for many 2000mAh to 3500mAh 18650 cells, provided the data sheet allows it.
- 2A for suitable high-capacity 18650s and many 4000mAh to 5000mAh 21700 cells.
- Above 2A only when both the cell manufacturer and charger specifically support that rate.
A quick capacity calculation
To estimate a conservative current, convert mAh to Ah and multiply by the C-rate you plan to use. A 3500mAh cell is 3.5Ah. At 0.5C, 3.5Ah multiplied by 0.5 equals 1.75A. If your charger offers 1A or 2A, 1A is the more conservative setting and 2A may still be acceptable only if the data sheet supports it.
This calculation is useful because it stops a common mistake: treating every 18650 as though it should be charged at 1A, or every 21700 as though it should be charged at 2A. Format tells you the approximate dimensions, not the correct charging current.
Charger limits change when every slot is occupied
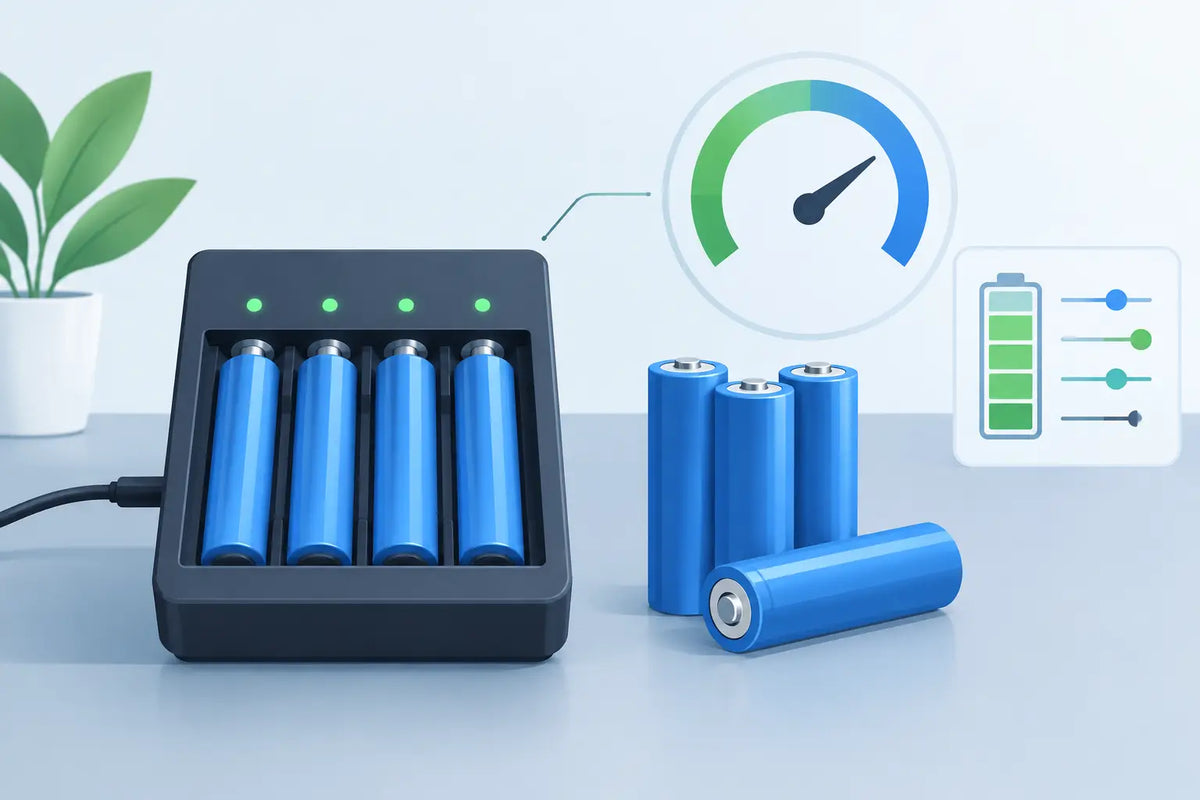
A multi-bay charger may advertise 2A or 3A charging, but that figure can apply only when one or two slots are in use. With four cells fitted, the charger may divide its available power between bays and reduce the current automatically. Some models also restrict high-current charging to particular slots.
Read the charger's slot-current table rather than relying on the largest number on the box. If you select 2A across four bays but the charger can only supply 4A total, each cell may receive 1A. That is not necessarily a problem, but it affects charge time and explains why a display may not match your selected setting.
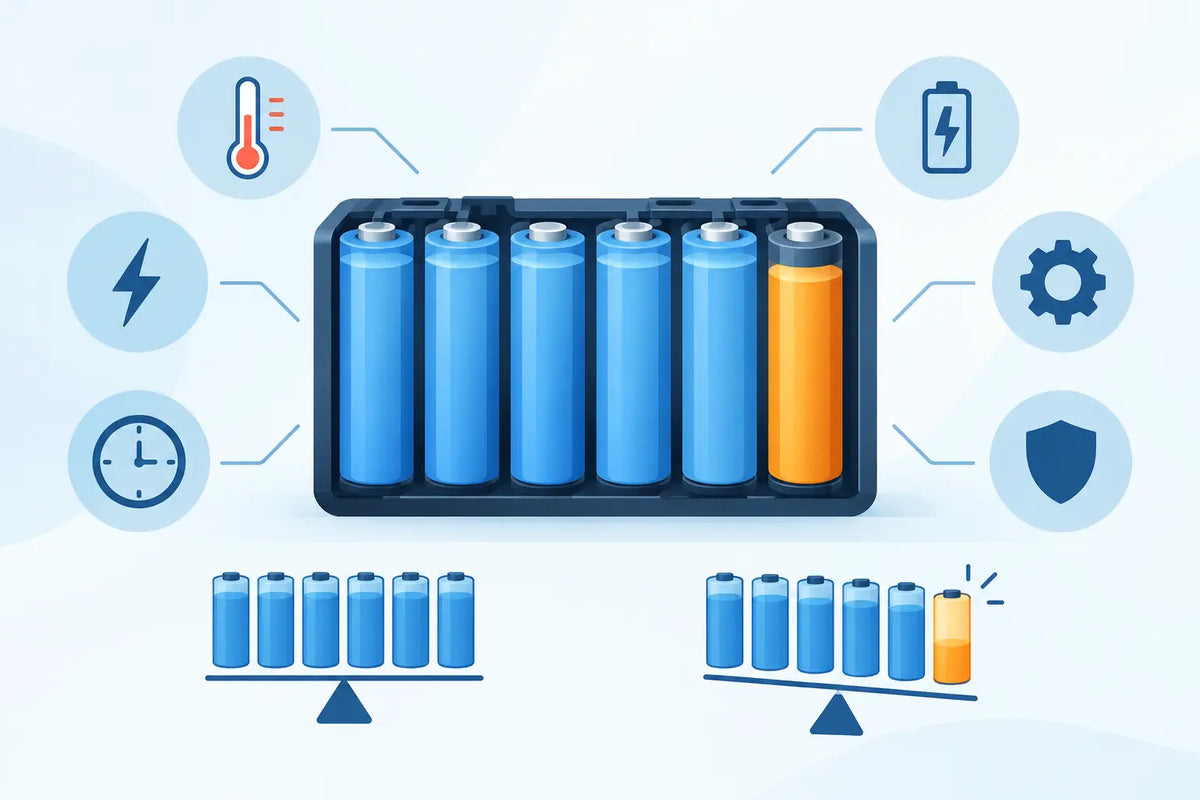
Use a charger with independently monitored slots for loose cells. Each bay should terminate based on its own cell voltage rather than treating several cells as one battery. Avoid mixing cells of very different charge states or capacities in series charging arrangements unless the equipment is designed for that purpose.
When to choose a lower current
A lower current setting is the right call when a cell is warm, has been sitting unused for a long period, is of unknown history, or has a lower capacity than the rest of your collection. It is also sensible when charging protected cells, as their protection circuit can add another variable, and when charging overnight in a suitable attended area where speed is not needed.
If a cell becomes noticeably hot, stop the charge and investigate. A little warmth can occur, particularly at higher current, but a charger, cell or contact that becomes too hot to comfortably touch is not behaving normally. Check for damaged wraps, dirt on contacts, incorrect cell fitment and a charger setting that exceeds the cell specification.
Never charge a cell with a torn wrap around the body or a damaged top insulator ring. The metal can beneath the wrap is the negative terminal, and damage can create a short circuit inside a metal charger bay or battery holder. Rewrap or replace the cell before charging.
Match the charger to the job
For individual cells used in torches, power banks, tools and DIY projects, a dedicated lithium-ion charger is usually the simplest option. Select the correct chemistry mode where the charger supports more than one battery type, fit the cells with correct polarity and use an appropriate current for each cell.
Battery packs are different. An e-bike, scooter or custom multi-cell pack should normally be charged through its designed charge port with a charger matched to the pack voltage and BMS. The BMS manages cell-group protection and balancing behaviour, while the pack charger controls the overall charge voltage and current. Do not remove cells from a pack for casual individual charging unless you understand the pack design and can safely rebuild it.
For pack builders, charge current must also suit the nickel strip, BMS charge-current rating, wiring, connector and thermal design. A BMS is not a substitute for a correctly matched charger. Its protection threshold should not be used as the normal operating limit.
Check the cell before blaming the setting
Not every slow or failed charge is caused by charger current settings. A cell that terminates unusually early may have reduced capacity. One that takes much longer than matching cells may be ageing or may have started at a lower state of charge. A charger reporting an error can indicate reverse insertion, poor contact, excessive voltage, a protection circuit trip or a faulty cell.
Keep matched cells together when they are used as a set. For example, cells in a two-cell torch should be the same model, similar age and similar condition. Charge them in separate monitored bays, then return them to the same device together. Do not mix a new high-capacity cell with an old unknown cell just because both are 18650 size.
Store spare lithium-ion cells in protective cases, not loose in a drawer, glove box or tool bag where keys and coins can bridge the terminals. Charge on a non-flammable surface, away from direct sun and combustible materials, and do not leave damaged cells unattended.
The best setting is usually the lowest current that gives you a useful recharge time while staying inside the exact cell specification. Start there, watch how the cells and charger behave, and let accurate ratings rather than impatience set the pace.