A new 18650 or 21700 cell should not be treated like a pair of supermarket AAs. Lithium-ion cells need a charger that recognises the chemistry, controls current correctly and stops at the proper voltage. The best beginner chargers make that process straightforward: insert a compatible cell, check the display, select a sensible charge current where required, and let the charger do the work.
For most first-time buyers, the right choice is not the charger with the most menus or the highest advertised charge rate. It is the one that fits the cells you actually use, gives clear feedback, and includes the safety functions that prevent common charging mistakes.
What makes the best beginner chargers different?
A suitable lithium-ion charger uses a constant-current, constant-voltage charging process. In practical terms, it supplies a controlled current early in the cycle, then reduces that current as the cell reaches its normal full-charge voltage of 4.20V. A proper charger terminates the charge rather than continuing to push energy into a full cell.
That differs from basic USB charging boards, unbranded multi-cell docks and chargers designed only for NiMH rechargeables. A charger must explicitly support 3.6V or 3.7V nominal lithium-ion cells if you plan to charge common 18650, 20700 or 21700 cells.
For a beginner, the useful features are simple:
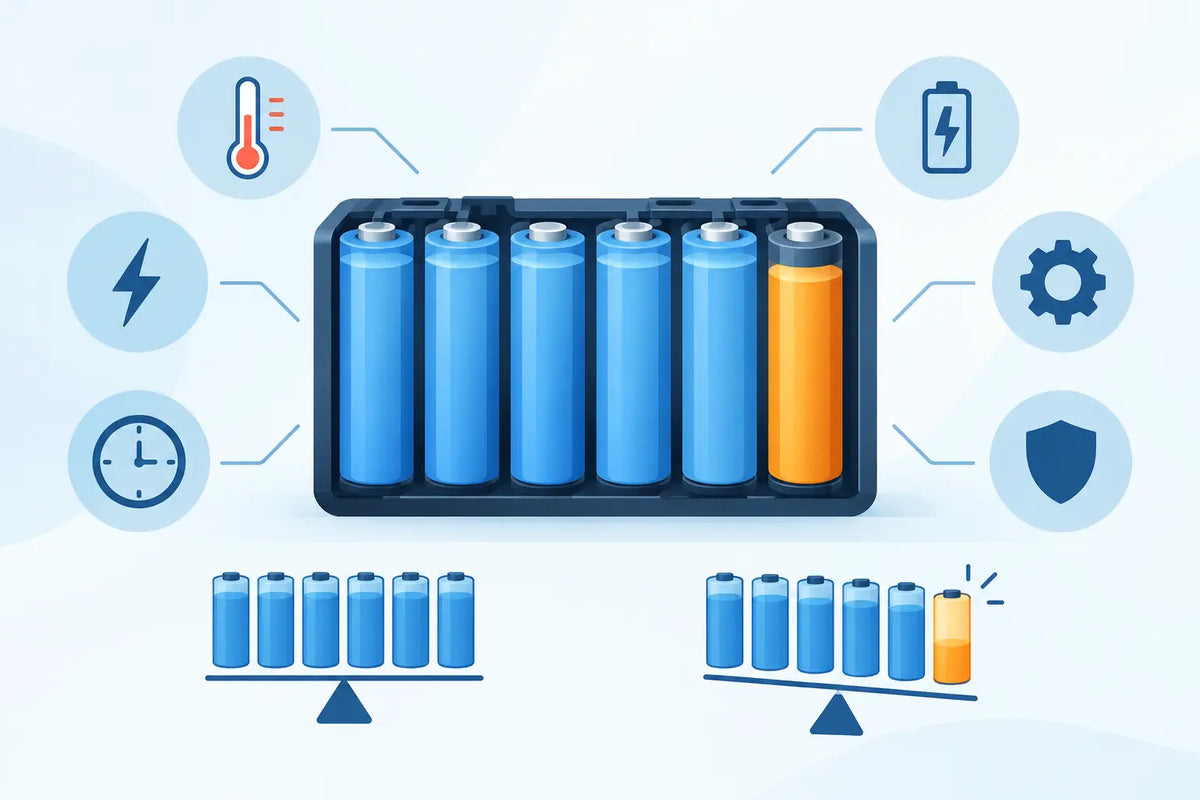
- Independent charging channels, so each bay monitors its own cell rather than treating every slot as one group.
- Reverse-polarity protection, which helps prevent damage if a cell is inserted backwards.
- Overcharge protection and automatic termination at the correct voltage.
- A display or clear status indicators showing charging, full, error and selected current.
- Compatibility with the physical sizes you own, especially longer protected 18650s and 21700 cells.
Start with your cell size and cell type
The first compatibility question is physical, not electrical. An 18650 cell is approximately 18mm in diameter and 65mm long. A 21700 is wider and longer, at around 21mm by 70mm. Many current chargers accept both formats, but some compact two-slot models have limited rail travel and may not suit long protected cells or button-top cells.
Before buying, check the charger's supported dimensions against the cells in your torch, power tool, vape, battery project or device restoration job. Do not assume that a charger accepting a flat-top 18650 will automatically accept a protected button-top 21700. Protection circuits and raised terminals add length.
Also check the chemistry list. Standard lithium-ion chargers commonly support Li-ion cells such as 18650, 20700 and 21700. Some models also charge NiMH AA and AAA batteries, which can be handy for a mixed household. That flexibility is useful only when the charger identifies each chemistry correctly and provides separate charging control. Never force a lithium-ion cell into a bay intended for a different battery type.
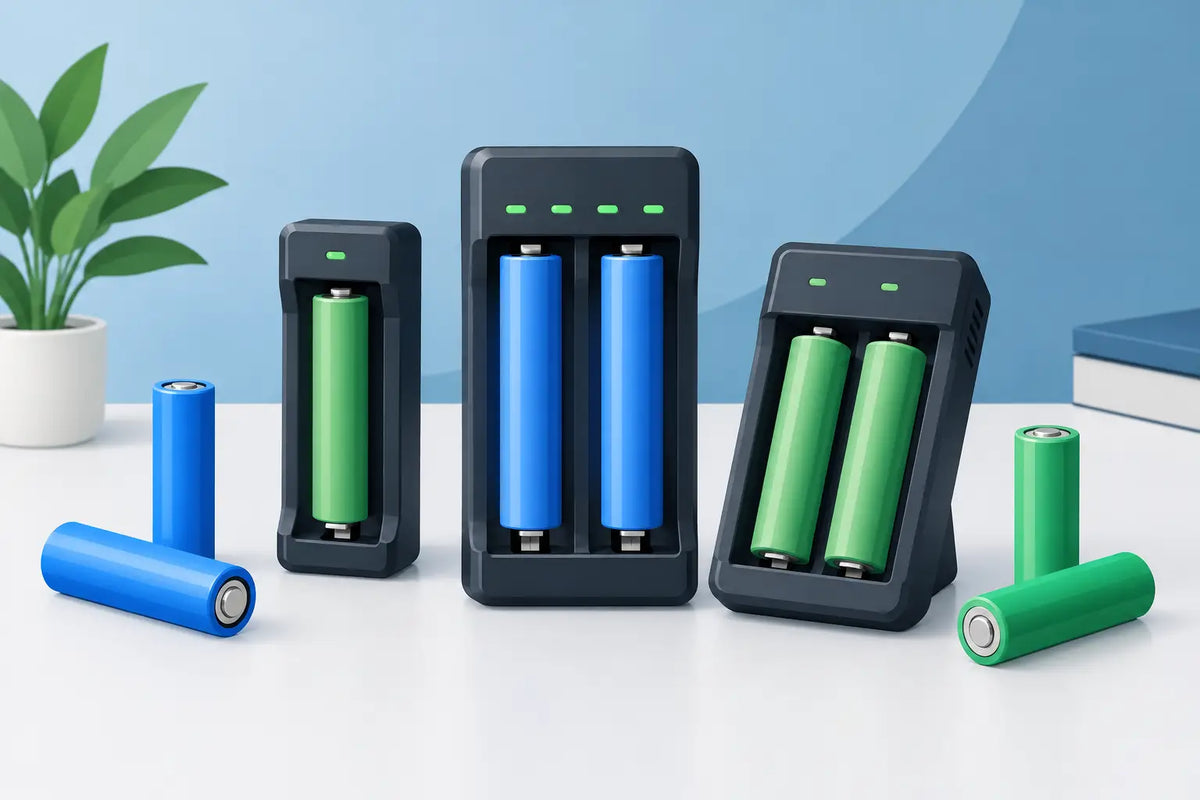
Two slots or four slots?
A two-slot charger is the sensible starting point for someone charging a couple of spare cells for a torch, headlamp or small project. It takes up little bench space, costs less, and is easier to understand. Provided both slots are independently controlled, it can charge two cells of different capacities or states of charge safely.
A four-slot charger is worth considering when you regularly use matched sets of cells, keep several torches running, or are building experience with battery-powered projects. It is also more convenient for charging four loose cells from a device, provided those cells are intended to stay together as a set.
Slot count does not tell the full story. Check whether the charger's total power is shared across all bays. Some four-slot chargers reduce the available current per slot when every bay is occupied. This is usually not a problem for overnight charging at conservative current, but it matters if you expect all four cells to charge quickly.
For beginner use, slower and cooler is generally preferable to chasing the fastest possible charge. A charger with honest, clearly stated current limits is more useful than one making vague fast-charge claims.
Choosing a sensible charge current
Charge current is measured in amps. The right setting depends on cell capacity, manufacturer guidance and how quickly you need the cells ready. A 500mA or 1A setting is a practical range for many genuine 18650 and 21700 cells used by beginners.
As a broad example, charging a 3000mAh 18650 at 1A is moderate. Charging a 5000mAh 21700 at 1A is gentler still, although it will take longer. A lower 500mA setting can be a good choice for older cells, smaller-capacity cells, overnight charging, or when you simply do not need speed.
Higher current is not automatically unsafe when it remains within the cell and charger specifications. However, it produces more heat, gives you less margin for poor ventilation, and may not be necessary for everyday use. Select a current based on the lowest-capacity cell in the bay if you are charging different cells at once.
Avoid charging a cell that is hot from use. Let it return to room temperature first. Similarly, stop and inspect the setup if a cell becomes unusually hot while charging. Slight warmth can occur, but a cell or charger that is too hot to comfortably touch is a reason to disconnect power and investigate.
Displays are helpful, but do not overread them
A basic LED charger may show red while charging and green when complete. That is enough for many users if the charger is from a reputable source and includes proper protection. A display charger adds useful detail, such as cell voltage, chosen charge current, elapsed time and accumulated capacity.
For a beginner, voltage display is especially useful. A healthy standard lithium-ion cell inserted for charging may show somewhere between roughly 3.0V and 4.2V depending on its state of charge. A reading well below normal operating voltage can indicate an over-discharged cell. Do not assume every charger can safely recover a deeply discharged lithium-ion cell.
Capacity readings also need context. A charger may display the amount of energy put into a cell during that particular charging session. That is not necessarily the cell's true rated capacity, because the starting voltage, charging efficiency and test method affect the number. Use it as a guide, not as proof that a cell meets its label.
Features worth paying for, and features you can skip
USB-C input is convenient for a portable setup, particularly if you already have a quality power adaptor. Check the required adaptor output, though. A four-slot charger running at higher current may need more input power than a small phone charger can provide. Using an underpowered adaptor can slow charging or limit available modes.
Storage mode, discharge testing and internal-resistance readings can be valuable as you move into cell sorting or pack maintenance. They are not essential for a first charger. If you are only charging genuine loose cells for normal use, simple independent channels and clear charge status matter more.
A charger with a USB power-bank function can be handy in a pinch, but it should not be the deciding feature. Its output performance is often modest, and every added function introduces another setting to understand. Buy a charger first because it is good at charging cells.
Safe habits matter as much as charger features
Use the charger on a hard, non-flammable surface with clear space around it. A workbench is suitable; a bed, couch, carpet or pile of packaging is not. Keep it away from direct sun, moisture and flammable liquids. Charge in an area where you can check on it periodically, rather than leaving cells unattended for long periods or while you are asleep.
Inspect each cell before it goes into the charger. Do not charge cells with torn wraps, crushed metal cans, corrosion, leaking electrolyte, loose terminals or obvious swelling. Damaged wraps can often be replaced by someone with the correct knowledge and materials, but a damaged cell itself should be removed from service and disposed of through an appropriate battery recycling channel.
For multi-cell devices, keep married cells together. This means using cells of the same brand, model, age and condition as a set, then charging and discharging them together. Do not mix a new high-capacity 21700 with an old 18650, or pair one cell from an unknown device with another from a different batch.
Never charge loose lithium-ion cells in a device unless that device is specifically designed to charge removable cells safely. If the device manual says to use an external charger, remove the cells and use the correct charger. For DIY battery packs, charge through the intended pack connection and correctly specified BMS where the design requires it. Do not place a completed welded pack into a loose-cell charger.
A practical first charger setup
For most Australian hobbyists starting with 18650 or 21700 cells, a two- or four-bay charger with independent channels, Li-ion support, reverse-polarity protection and a readable display is the right place to begin. Choose a model that physically accommodates your longest cells, use a quality power supply if one is required, and charge at a conservative current until you are familiar with the process.
TinkerTech AU customers building towards more involved battery work can add analysing and testing equipment later. Start with genuine cells, a charger built for their chemistry, and a charging routine you can repeat confidently. Good battery work is rarely about rushing the charge cycle; it is about knowing exactly what is on the bench and treating every cell accordingly.