A lithium-ion cell can look perfectly normal while sitting at a voltage that tells a very different story. Before charging a loose 18650, matching cells for a pack, or diagnosing a torch, e-bike or power-tool battery, learn how to measure cell voltage correctly. It takes less than a minute per cell with a basic multimeter, but the reading only means something when you understand the conditions behind it.
What cell voltage tells you
Voltage is the electrical potential between a cell’s positive and negative terminals. For common 18650, 20700 and 21700 lithium-ion cells with a nominal voltage of 3.6V or 3.7V, a resting voltage gives a useful indication of state of charge and can reveal cells that need closer inspection.
A healthy conventional lithium-ion cell is generally around 4.20V when fully charged. At roughly 3.6V to 3.7V, it is near its nominal voltage and partially charged. Many devices stop discharging the cell somewhere around 2.5V to 3.0V, depending on the BMS or device design.
Voltage is not a direct capacity test. Two cells may both read 3.8V while one has retained most of its original capacity and the other has aged badly. A voltage check is still the right first check because it is quick, non-destructive and useful for finding an outlier before it goes into a charger or battery pack.
What you need to measure cell voltage
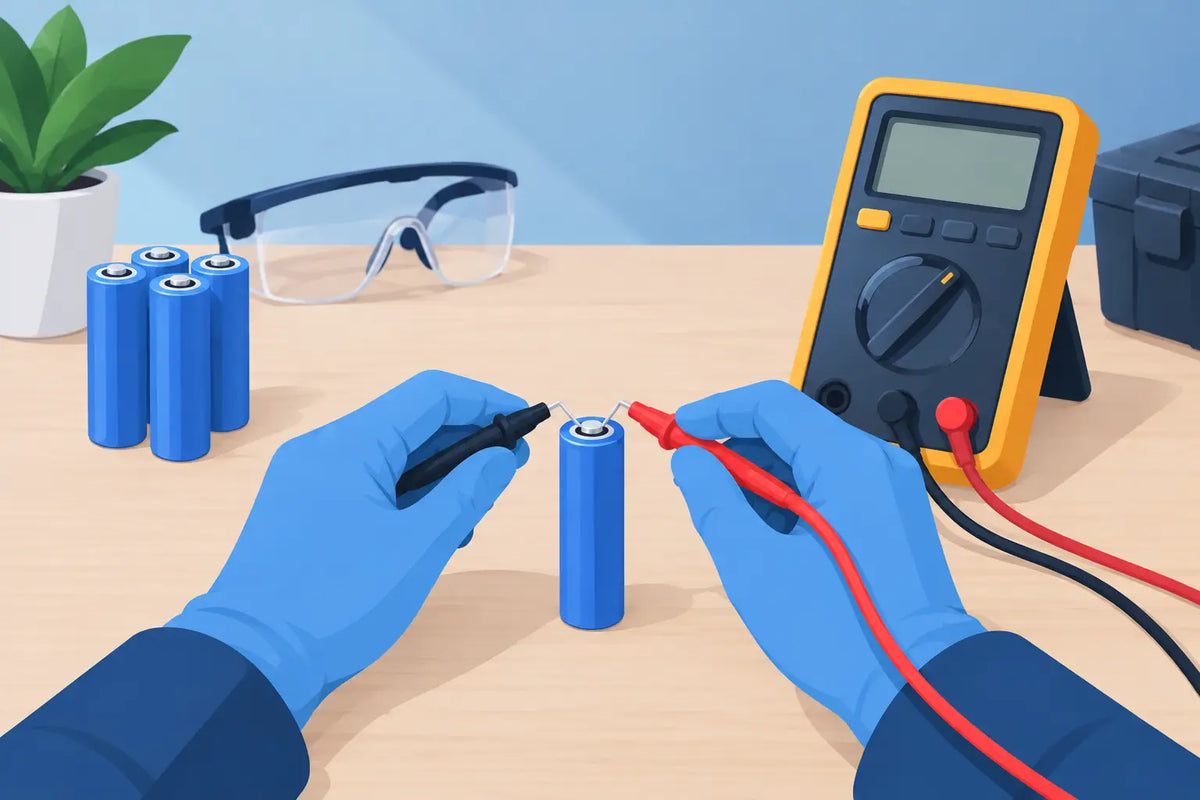
Use a digital multimeter with DC voltage measurement. Most entry-level multimeters are suitable, provided the probes are insulated, undamaged and firmly connected. Set the black lead to the COM socket and the red lead to the V socket, then select DC volts. On a manual-ranging meter, choose a range above 4.2V, commonly the 20V DC range.
Work on a dry, non-conductive bench with good light. Keep loose nickel strip, tools, screws and other conductive items away from the cell. A metal object bridging both terminals can create a very high-current short circuit in seconds.
Do not measure a cell with torn shrink wrap, a crushed can, corrosion, leaking electrolyte, a hot surface or a damaged positive insulator ring. Place it in a safe, non-flammable area and treat it as a damaged cell rather than trying to prove it is usable with a meter.
How to measure cell voltage with a multimeter
Hold the cell so you can clearly identify each terminal. On a cylindrical lithium-ion cell, the raised end is positive and the flat end is negative. The positive end is surrounded by a separate insulating ring. Do not assume a cell is safe merely because it has a button top or a protective circuit fitted.
Touch the black multimeter probe to the negative terminal. Touch the red probe to the positive terminal. Keep the probe tips apart at all times. You only need light contact, so there is no reason to press hard or scrape the terminals.
Read the display after it settles. A normal reading appears as a positive number, such as 3.74V. If the meter displays a minus sign, the probes are reversed. This will not usually harm the meter or cell during a brief voltage test, but swap the probes so the reading is easier to record.
For several cells, write down each voltage immediately and label the cells. Small pieces of non-conductive tape are useful for marking sets. Mixing up readings defeats the point of checking them, especially when preparing a multi-series pack.
Reading common lithium-ion voltage results
The figures below are practical guides for a single 3.6V or 3.7V nominal lithium-ion cell at rest. They do not apply to LiFePO4 cells, which use different voltage limits.
- 4.15V to 4.20V: Fully or nearly fully charged. Do not continue charging a standard 4.20V cell beyond its specified limit.
- 3.70V to 4.00V: A normal part-charged range for storage, testing and general use.
- 3.40V to 3.69V: Partly discharged. Usually not a concern for a healthy loose cell.
- 3.00V to 3.39V: Low. Recharge soon with a suitable lithium-ion charger, unless the cell has been left flat for an unknown period.
- Below 2.50V: Over-discharged territory for most conventional lithium-ion cells. Do not simply put it back into service.
- 0V or close to 0V: Possible protection-circuit trip, open connection, severe over-discharge or internal failure. Investigate carefully rather than bypassing protection.
Measure after the cell has rested
A reading taken immediately after charging or under load can be misleading. Fresh off the charger, a cell may show surface charge and read slightly high. After a high-current discharge, voltage sag can make a healthy cell appear lower than it will at rest.
For a useful comparison, let loose cells rest at room temperature for at least 30 minutes after charging or use. An hour is better where practical. Then measure every cell under the same conditions.
Temperature matters too. A cold cell can show lower voltage and deliver less usable power under load. Do not charge lithium-ion cells below 0°C unless the cell manufacturer specifically permits it. If a cell is hot after use, allow it to cool before handling or testing.
Checking matched cells for a battery pack
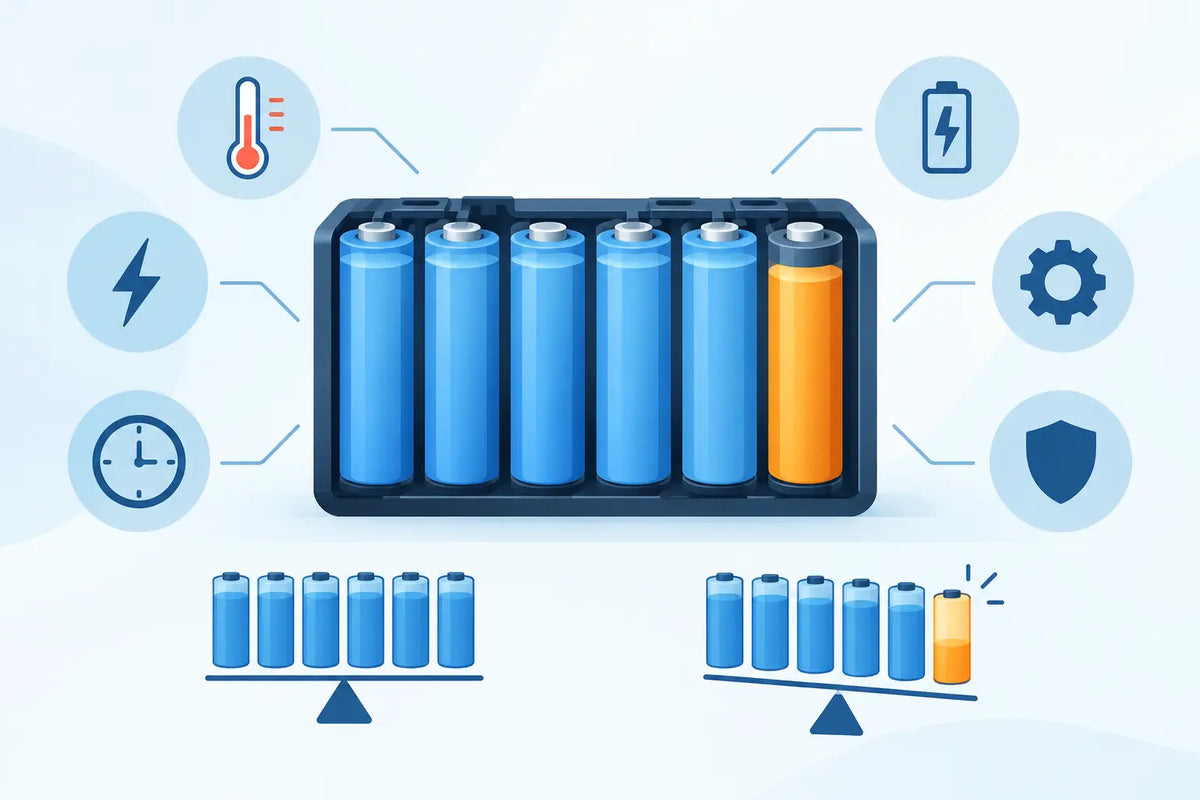
Voltage matching is especially important for series-connected battery packs. In series, weak or lower-capacity cells can reach low-voltage cut-off before the others. During charging, they can also reach full voltage first. A BMS helps manage the pack, but it cannot turn a mismatched collection of cells into a sound battery.
Before building a pack, use cells of the same chemistry, model, age and condition. Ideally, they should come from the same batch and have been capacity tested. Matching only by voltage is not enough, because voltage does not show internal resistance or actual mAh capacity.
As a practical starting point, cells intended for the same parallel group should be brought to a very similar resting voltage before joining them. Many builders aim for a difference of 0.05V or less. The closer the voltage, the lower the equalisation current when cells are connected in parallel.
Never connect cells in parallel when there is a large voltage difference. A 4.1V cell connected directly to a 3.2V cell may equalise with substantial current, creating heat and damaging the cells or connection. Charge or discharge them separately first, using appropriate equipment.
What a multimeter cannot tell you
A voltage reading is a screening tool, not a full health report. To assess battery condition properly, you also need a controlled capacity test and, where available, an internal-resistance reading. Quality analysing chargers can charge, discharge and measure returned capacity, making them useful for sorting reclaimed cells or monitoring an older set.
For a new genuine cell, compare its voltage, appearance and wrap condition before first use, then charge it in a suitable charger. For reclaimed cells, be more conservative. Reject any cell with physical damage, unusual heating, a persistent self-discharge problem or capacity that is clearly below the rest of the group.
A cell that drops noticeably in voltage while sitting unused may have high self-discharge or an internal defect. Record its voltage, isolate it in a safe location, and check again after several days. Do not include it in a pack just because it initially charged to 4.2V.
A quick check for protected and button-top cells
Protected 18650 cells include a small electronic protection board, usually at the negative end, while button-top cells have an extended positive terminal for devices that need extra length. The measurement method is the same: black probe to the negative end and red probe to the positive end.
If a protected cell reads 0V, its protection circuit may have disconnected the output after over-discharge or a fault. Do not short the terminals or attempt to bypass the circuit. Use a compatible charger designed to recognise and recover protected lithium-ion cells only where the charger and cell manufacturer instructions allow it. If it will not recover normally, replace the cell.
Measure voltage before charging, after charging and before assembling any battery pack. That simple routine catches flat, mismatched and suspect cells early, when the safest fix is still the easiest one.